Validator
Purpose
The purpose of the Validator is to assist organisations with the implementation of one or more information exchange standards. Additionally, the validator offers a great way to get to know the details of a standard by studying, editing and validating example messages.
For organisations, implementing an information exchange standard can be a challenging task. It requires organisations to make a mapping from their internal data structure to the data model of the standard. Only then the organisation is able to generate messages from their information systems that are standard-compliant. The Validator offers a way to assist in the mapping process by checking compliance of message instances to the standards.
The Validator provides validation support for the syntax of use (e.g. XML, JSON and RDF), their schemas (e.g. XSD, JSON Schema and SHACL), and custom business rules. Developers can select a standard, insert or upload a message instance and run a compliance test. The result is a detailed validation report that tells the user if and how their message instance violated any rules or constraints.
There are two ways to use the Validator:
- via the Semantic Treehouse application (follow the steps below)
- directly using the Validator API
Using the Validator in a browser
The following steps assume you have the appropriate access rights to use the Validator module provided by your standard development organisation (SDO) and are logged in. If you do not have access or you are unsure, please contact your SDO.
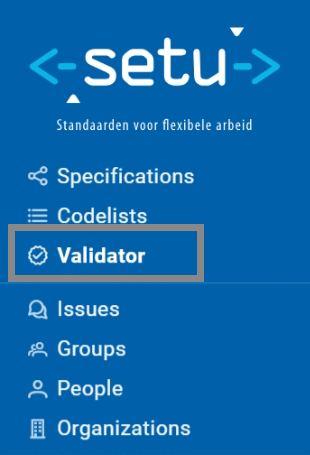
Step 0: Navigate to the Validator page
In the left menu bar, click Validator.
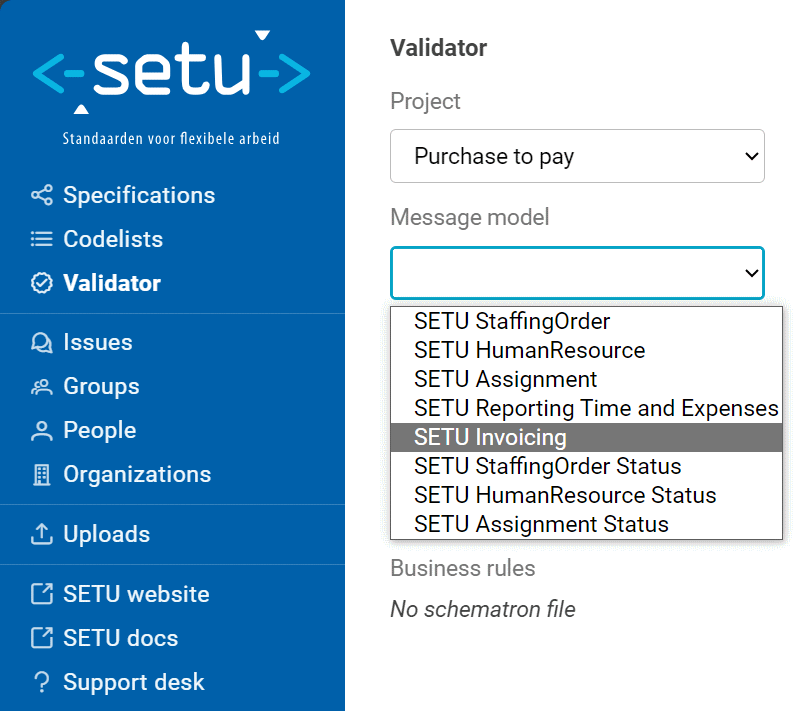
Step 1: Select project and message model
Start by selecting the relevant project and message model to validate from the dropdown menus on the left.
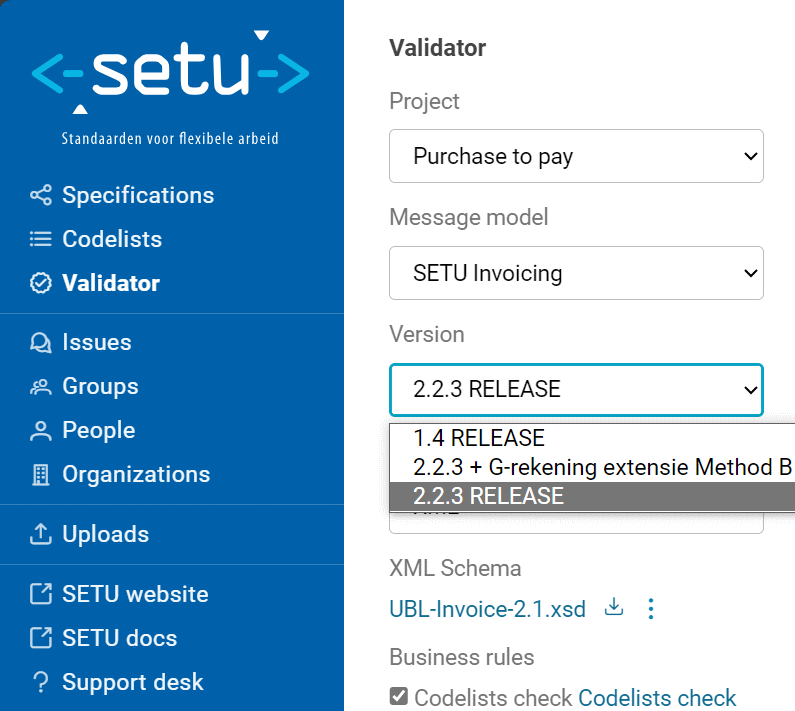
Step 2: Select version
Select the desired version of the message model.
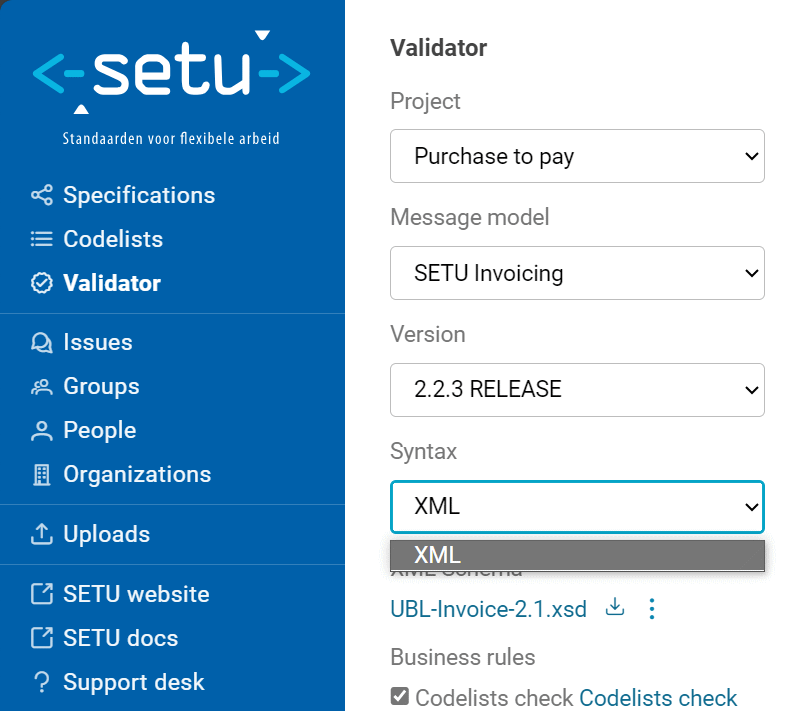
Step 3: Select syntax
Select the syntax you want to validate. Some message models allow multiple syntaxes like RDF, XML and JSON and some offer only one or two. This depends on the choice made by the maintainer of the standards. The RDF serialisations RDF/XML, JSON-LD and Turtle are supported. The used serialisation is detected automatically.
Step 4: Select validation artefacts
Below the syntax specification dropdown, the schema and additional business rule sets that apply to the message model are shown. The checkboxes of the active business rule sets are ticked by default. Users can check or uncheck boxes themselves based on their validation preference.
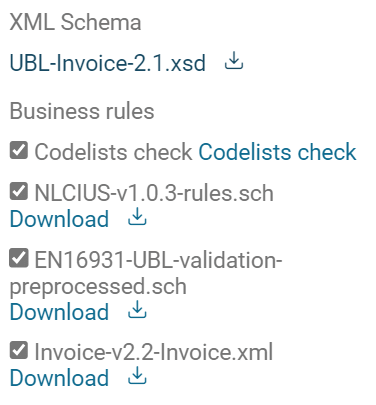
The rule sets and schema can be downloaded by clicking them.
Step 5: Provide message instance
There are three ways to enter the message instance to be validated:
- Option A: Select an existing example message by using the dropdown menu at the top. Not all message models have configured example messages, maintainers can add them. Feel free to edit the example message in the edit box, if desired.
- Option B: Upload your own message instance (file with a maximum of 16MB) by clicking ➕ Choose.
- Option C: Type or paste your own message instance in the 'edit box' below. To use this option, make sure the checkbox next to 'Show editor' is checked.
Option A

Option B

Option C
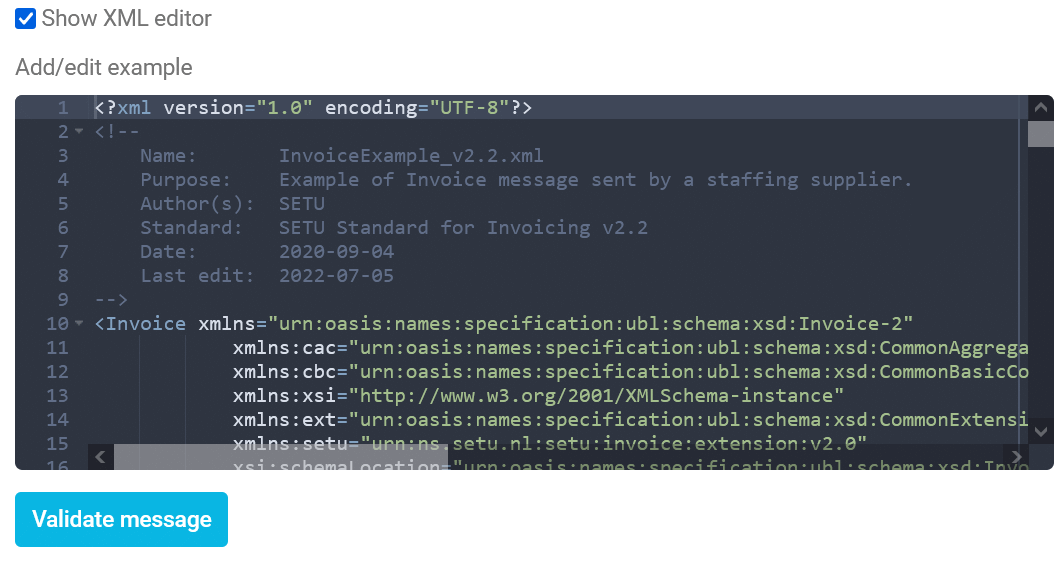
Step 6: Run validation and check the report
The Validator is now configured and ready. Click the Validate message button to start validation. The validation results will appear below when the Validator is done. The positioning is below all the input items, so please scroll down if you don't see the results right away.
The screenshots below confirm the validity of the XML syntax (1), compliance to the XML schema (2), and adherence to all the applied business rules.
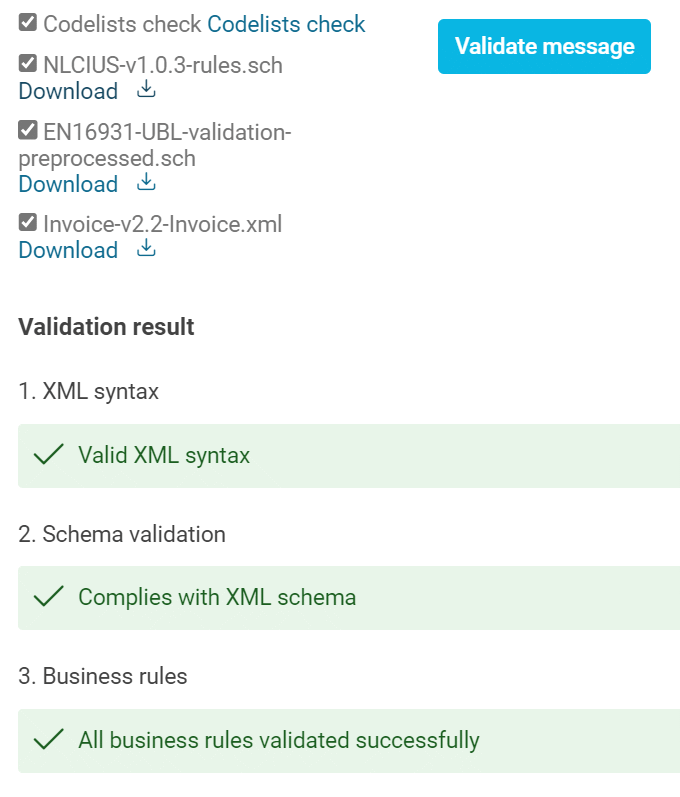
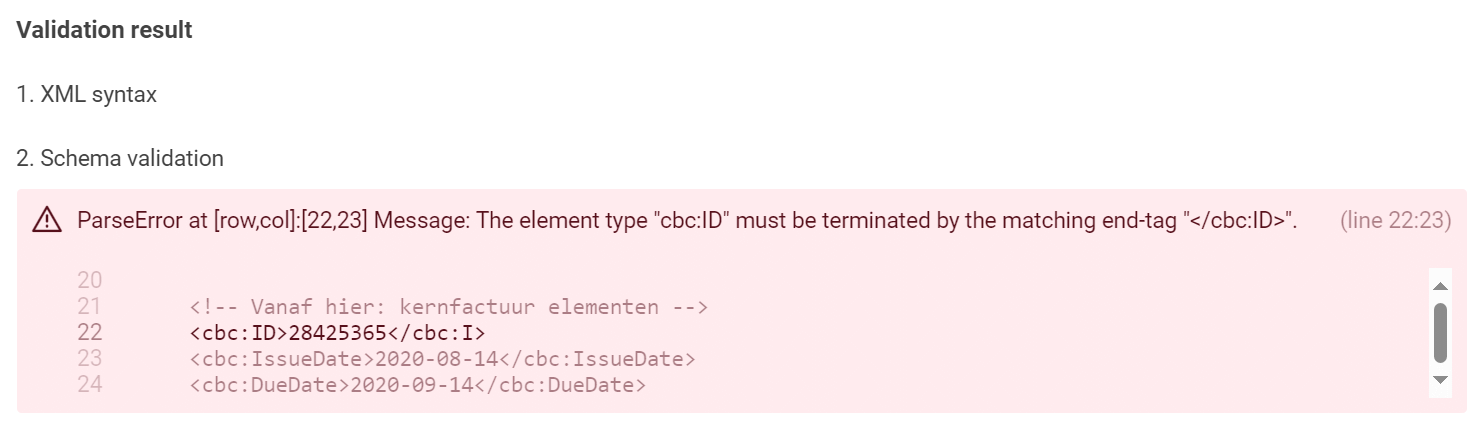
Syntax errors result in a parse error and immediately end the validation process, skipping the schema and business rules validation steps.
Sections 2 and 3 detail results of applying schema validation and, if applicable, the business rules.
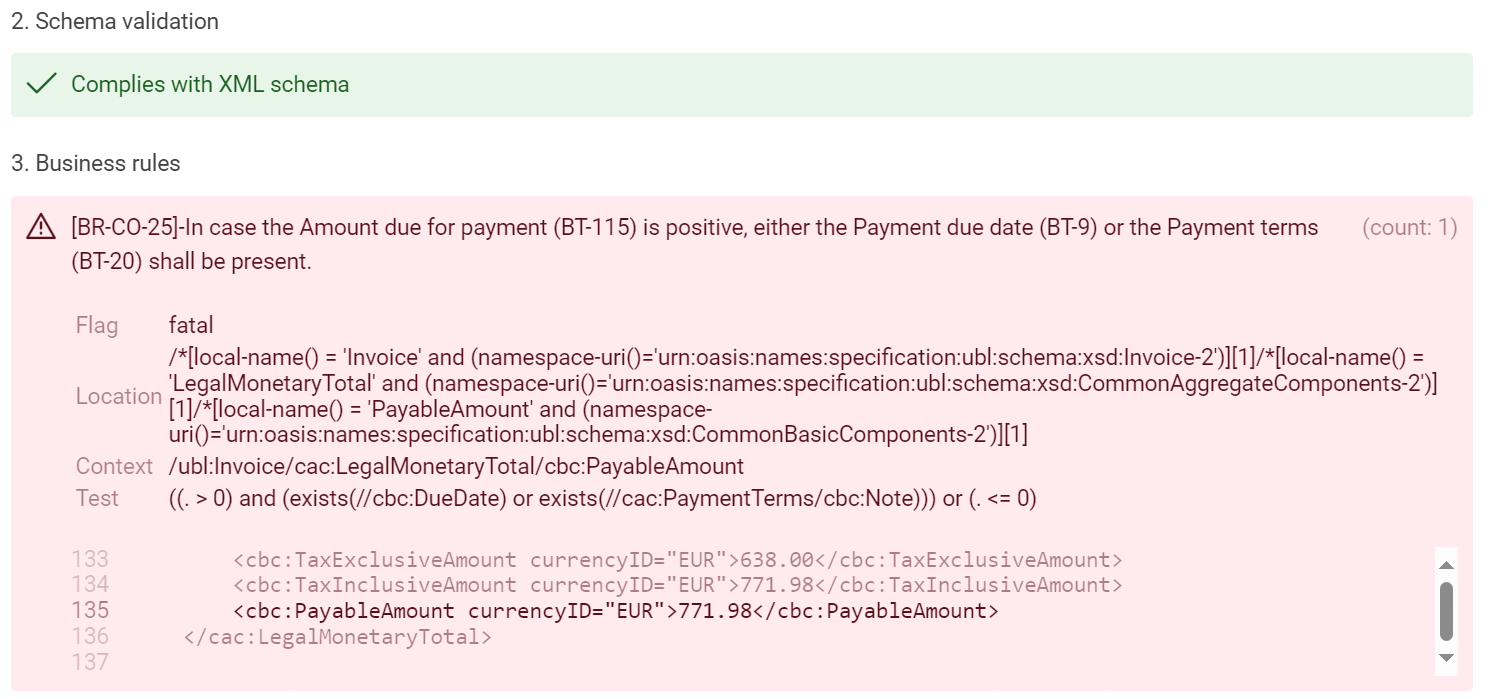
Section 4, which is not depicted here, shows detailed validation reports about the business rules validation in a technical format called Schematron Report Lanugage (SVRL) format. This is applicable to some standards, where XML schema does not offer enough expressivity to express the business rules. This SVRL report can be used to get further details on the applied business rules.